You can turn on the donation feature by following the steps in this guide!
This feature still needs to be tied to a ticket type, so in reporting it'll be shown under it's respective event under the ticket name you supply.
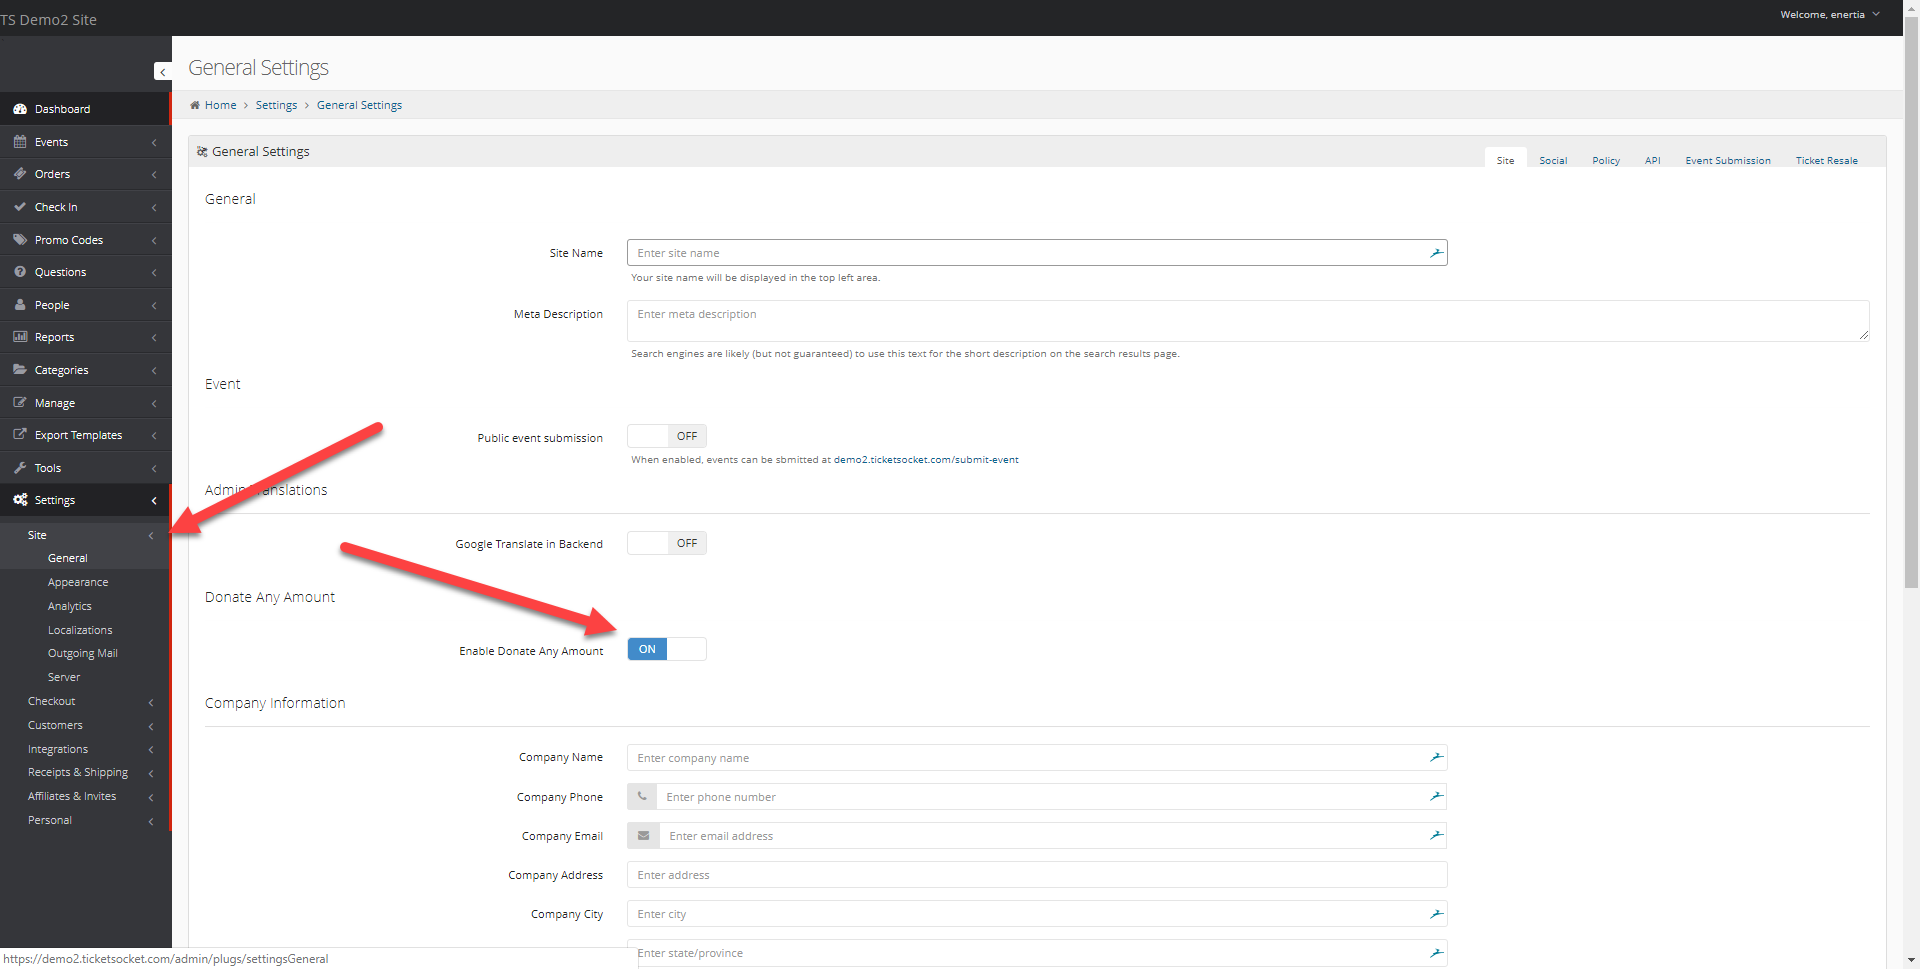
- Login to your Ticket Socket admin page of your site
- Click on Settings > Site > General
- Toggle on "Enable Donate Any Amount"
- Go to your event manager and select event you wish to add donations to
- Events > Events > "Actions/Wrench" Icon and Edit
- On your events page click on the "Ticket Types" tab
- Click on "Add New"
- Name it accordingly
- Price MUST be set to 0
- Set Shipping to "Disabled"
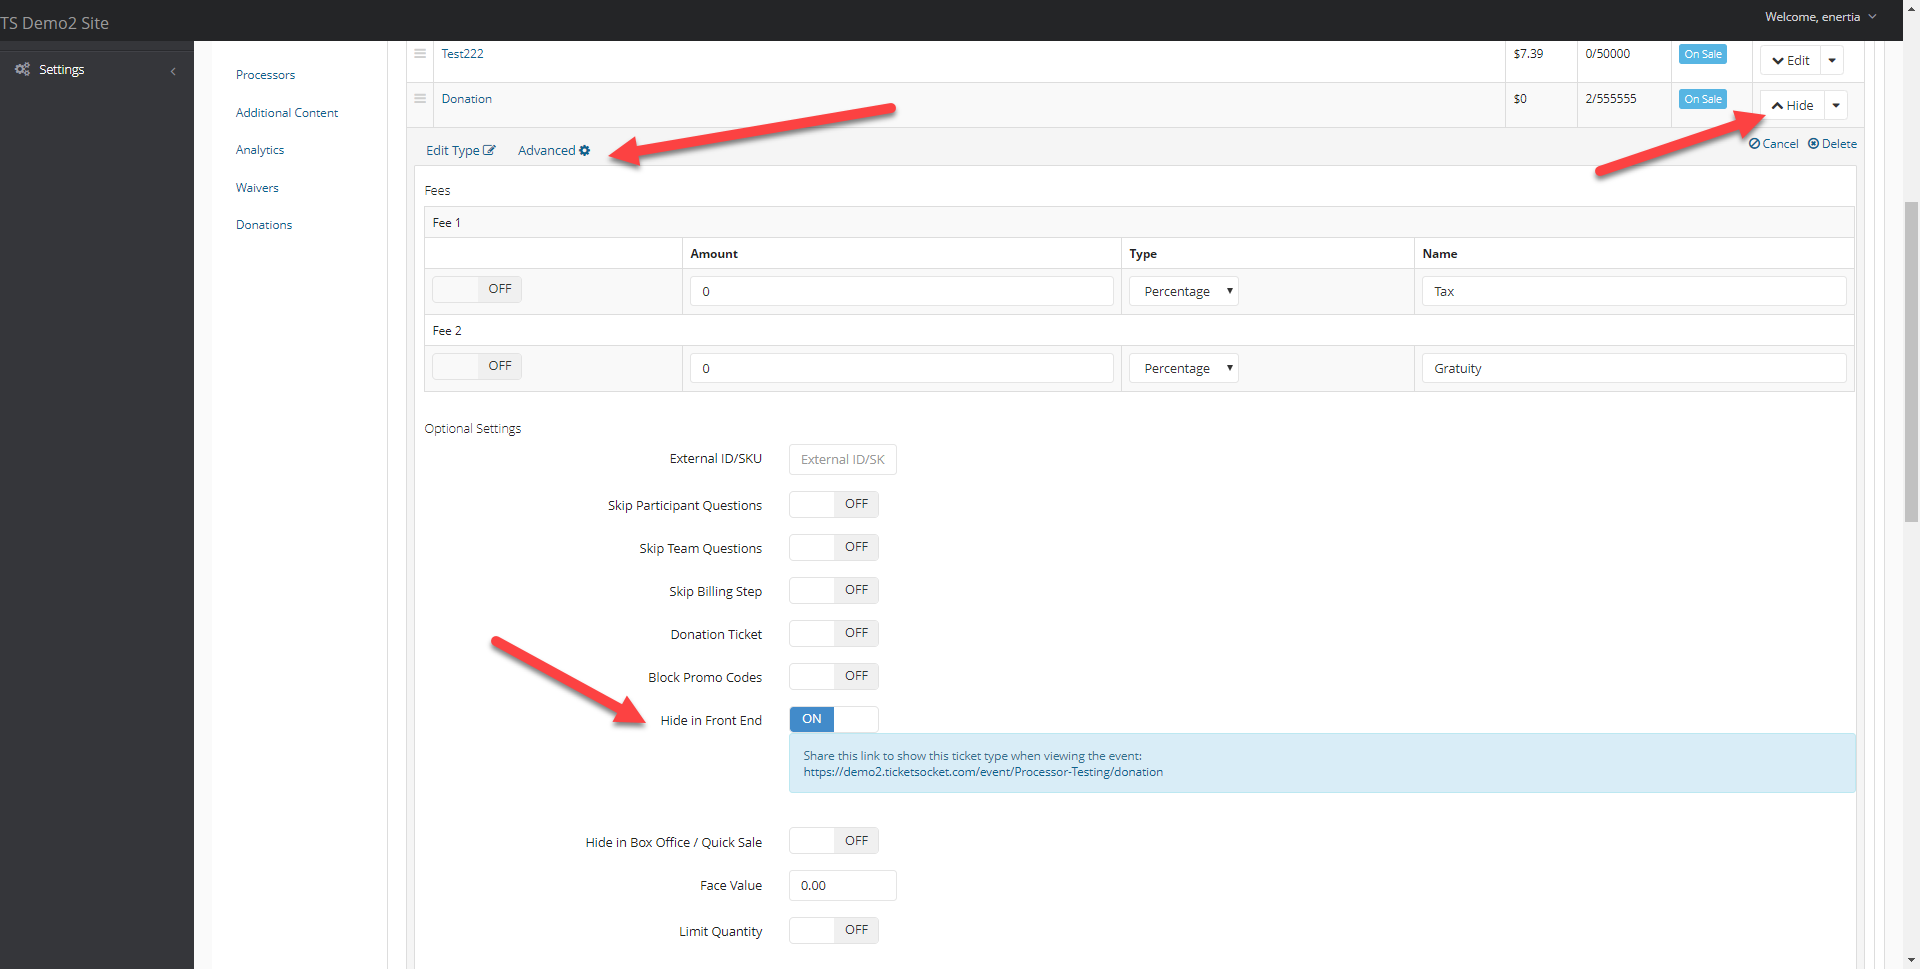
- Create that ticket and click on the "Edit" button to the right of that ticket
- Click on "Advanced"
- Toggle on "Hide in Front End"
- This is important to do so customers cannot view the ticket by itself. A ticket needs to exist in order for checkout to occur, so creating a ticket type is mandatory.
- Save your changes!
- Click on the "Donations" tab of your event editor
- Toggle on "Donate Any Amount"
- Select the donation ticket you just created
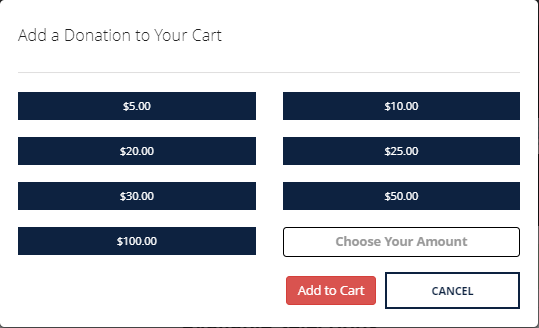
- In the "Preset Amounts:" field enter in amounts desired, separated by commas
- Example: 5,10,20,25,30,50,100
- Save your changes and you're all set!
Below are screenshots helping you through this process and a picture of the donation modal during checkout!